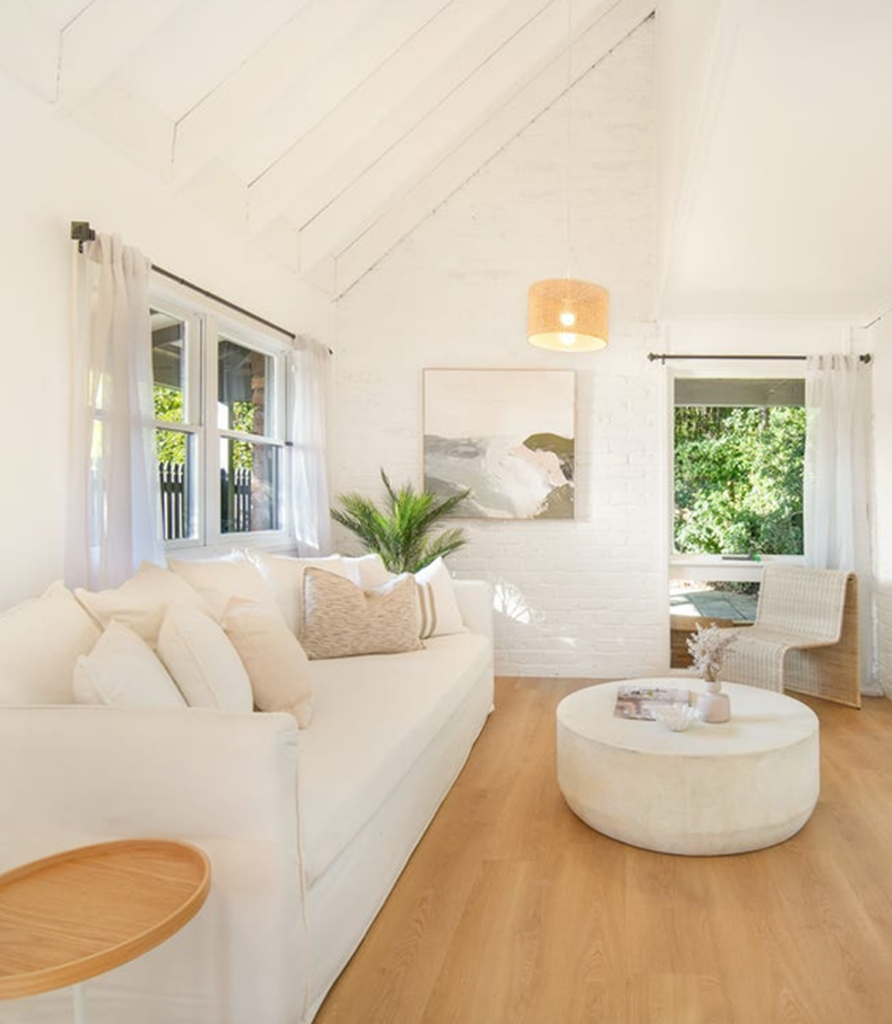
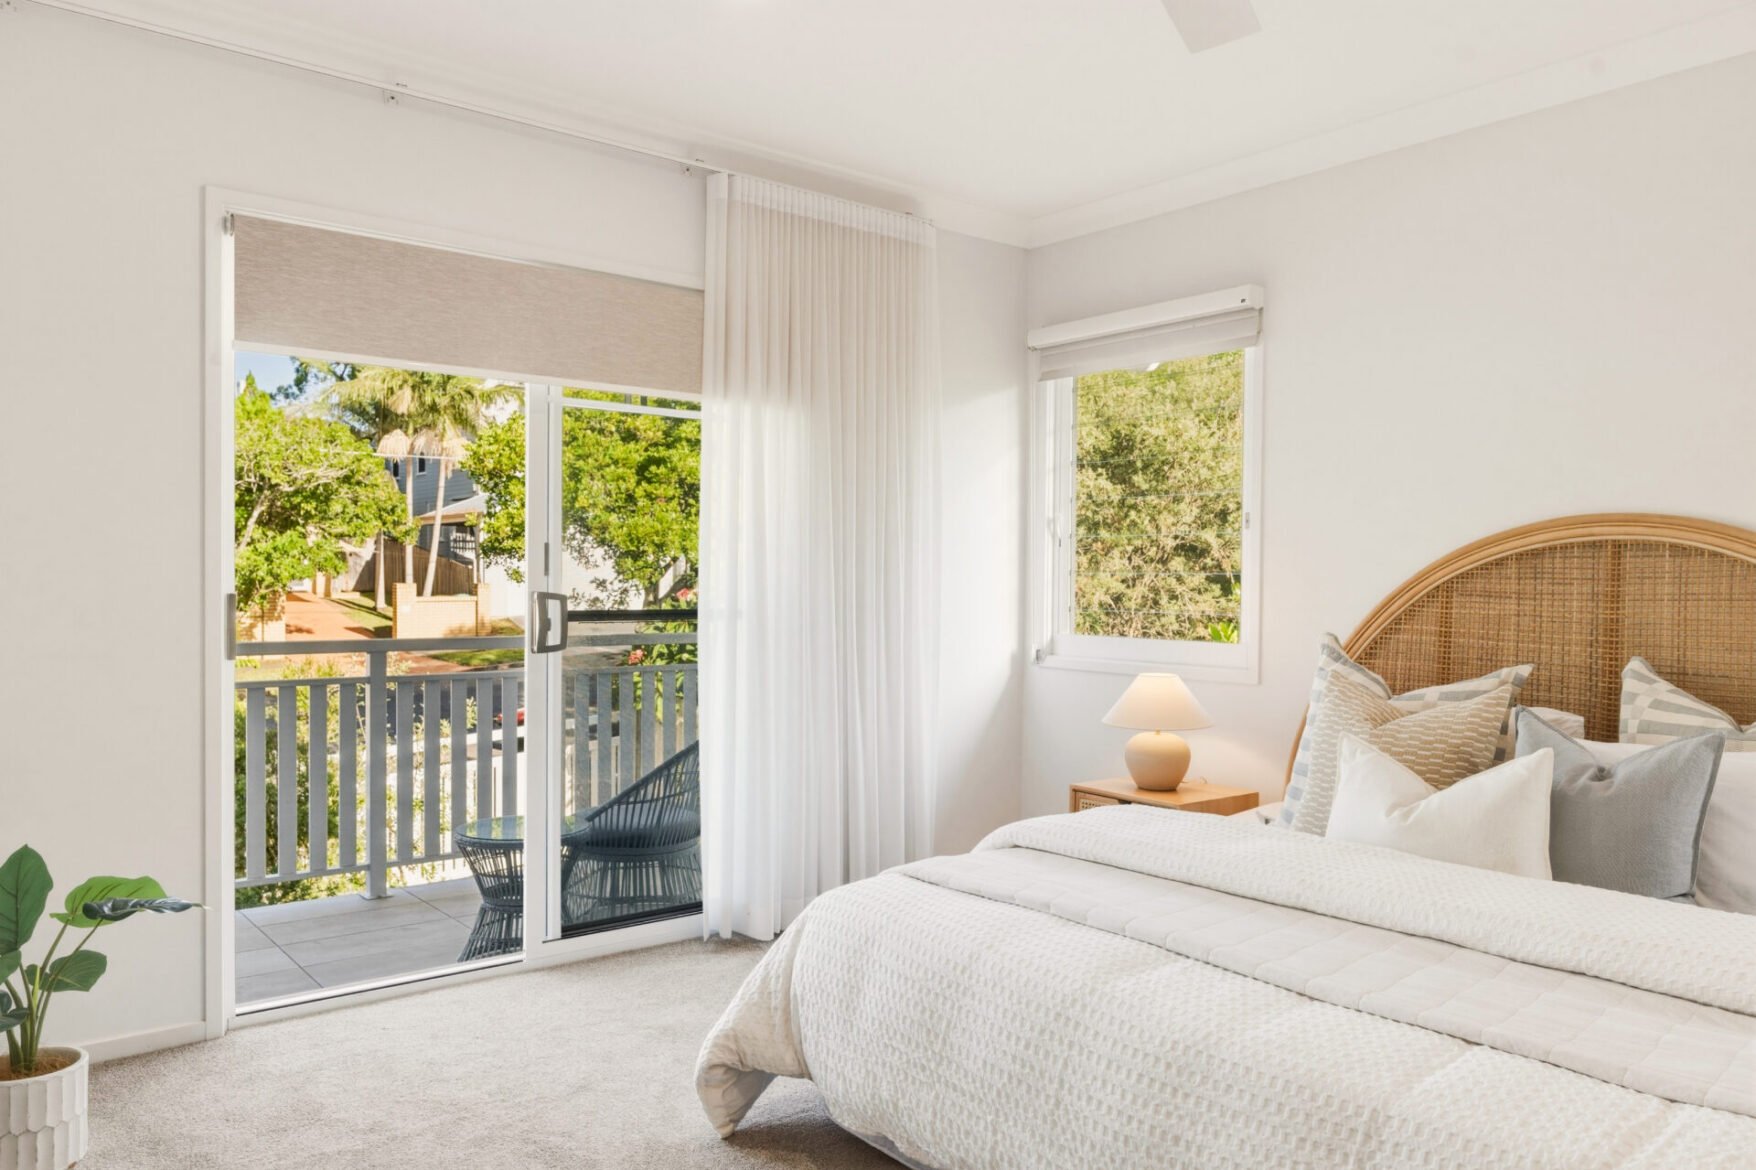
Scroll through living room styling ideas online and you will find no shortage of pretty pictures. What you will rarely find is the method behind them: the decisions a professional stylist makes, in order, that turn an ordinary room into one that feels twice the size and twice the price. That method is what this guide covers.
The good news is that very little of it depends on the room you were given. We style living rooms across the Gold Coast every week, from compact Burleigh apartments to sprawling acreage builds, and the spaces that feel biggest and most luxurious are almost never the largest ones. They are the ones where the layout, light, colour, scale and texture are all pulling in the same direction.
Below is the exact sequence we work through on every project. Follow the steps in order, because each one builds on the last, and the early steps cost nothing at all.
Why the Living Room Is the Room Worth Getting Right
If you only ever style one room properly, make it this one. The living room is where guests form their first real impression of your home, and it is where you spend most of your waking hours in it. That second part matters more than ever: according to the Australian Bureau of Statistics, 36% of employed Australians now usually work from home, which means our living areas are doing the job of office, cinema, playroom and retreat all at once.
Buyers feel the same pull. The 2025 Profile of Home Staging from the National Association of Realtors found the living room is the single most important staged room for buyers, ranked first by 37% of agents, ahead of the primary bedroom and kitchen. It is also the most commonly staged room in the industry, staged in 91% of professionally presented homes. Stylists stage living rooms first for a simple reason: no other room shifts how a whole home feels as much.
So whether you are styling to live better or preparing to sell, the principles below are the same ones we apply through our Style to Stay consultations and our staging work. The only difference is who you are styling for.
Step 1: Edit Before You Add a Single Thing
Every professional styling job starts with subtraction, not shopping. Luxury, at its core, is space to breathe. Walk into any high-end hotel lobby or display home and count the objects: there are far fewer than you think, and every one of them has room around it.
Start by removing everything that has drifted into the living room without being chosen for it. The chair nobody sits in, the third side table, the cable basket, the pile of things waiting to migrate elsewhere. Clear every surface completely, then allow each one back only two or three considered items.
Be ruthless with small decor. A dozen little objects scattered across shelves and coffee tables reads as clutter from across the room, and clutter is the fastest way to shrink a space. One larger sculptural piece will always look more expensive than five small ones, and it gives the eye somewhere calm to land.
This step costs nothing, takes an afternoon, and regularly makes a bigger difference than any purchase that follows. Do not skip it.
Step 2: Pull the Furniture Off the Walls
The most common layout mistake we see is also the most instinctive one: pushing every piece of furniture hard against the walls in the hope of creating space in the middle. In practice it does the opposite. The room reads as a waiting area, the empty centre feels like dead space, and every conversation happens at a shout across it.
Float your seating instead. Bring the sofa off the wall, even 20 or 30 centimetres, and angle armchairs toward it to form a proper conversation zone. Anchor the group on a rug, keep clear walking paths around the outside of the zone rather than through it, and the room instantly feels intentional, generous and larger, because the eye now reads usable space around the furniture instead of a void in the middle.
While you are moving pieces, choose your focal point deliberately. In many homes the television wins by default, and the whole room ends up arranged like a cinema. If you have a view, a fireplace or a beautiful window, orient the seating toward it and let the TV take a supporting role. On the Gold Coast, where so many living areas open to outdoor space, facing the furniture toward that connection makes the room borrow the outdoors and feel dramatically bigger.
Step 3: Let Light Do the Heavy Lifting
Nothing makes a room feel larger and more expensive than light, and nothing undoes good furniture faster than bad lighting.
Start with the windows. Hang curtains as close to the ceiling as you can and extend the rod well past the window frame on both sides, so the drapes stack against the wall rather than covering glass. The window reads taller and wider, the ceiling reads higher, and full-length sheers in linen or a similar lightweight weave let Queensland’s generous natural light pour in while softening it.
Then add a mirror where it earns its keep. A large mirror positioned to catch a window or a garden outlook effectively doubles the light and the view. One oversized mirror, leaned or hung, will always beat a gallery of small ones.
Finally, layer your evening lighting. Downlights alone flatten a room and cast the kind of overhead glare that no luxurious space ever has. Aim for at least three sources at different heights: a floor lamp beside the sofa, a table lamp on a sideboard, perhaps a picture light or candles. Warm pools of lamp light create depth and instant atmosphere, which is why stylists switch every lamp on and every downlight off the moment a photographer arrives.
Step 4: Choose Colours That Open the Room Up
Colour changes how big a room feels before a single piece of furniture arrives. As design publication ArchDaily explains, lighter and cooler colours reflect natural light and make surfaces appear larger, while dark, saturated colours absorb light and visually pull the walls in.
For a living room that needs to feel bigger, that means a light, tonal base: warm whites, soft neutrals, pale timber. Keeping walls, ceiling and larger furniture pieces in the same tonal family removes the visual boundaries between them, so the eye travels uninterrupted and the room reads as one continuous, generous space.
Tonal does not mean bland. The luxury comes from layering shades of the same family, ivory into oat into stone, and then committing to one or two accent colours used sparingly. Under strong coastal light, muted accents like sage, rust or ocean blue hold their depth beautifully, where brighter shades can turn harsh by midday. A room built on this kind of restrained palette photographs like a magazine spread and feels calm to live in, which is exactly the combination you are after.
Step 5: Scale Up and Buy Fewer, Better Pieces
Here is the counterintuitive rule that separates professionally styled rooms from the rest: small furniture makes rooms feel smaller. A collection of petite pieces reads as busy and apologetic, while fewer, larger pieces read as confident and expansive.
The rug is where this matters most, because it is the most commonly mis-sized item in Australian living rooms. A rug floating in front of the sofa like a bath mat visually chops the floor into fragments. Size up until at least the front legs of every seating piece sit on it, and the rug will stitch the whole zone together and make the floor plan feel bigger than it is.
Apply the same thinking to art. One oversized piece above the sofa delivers gallery-level impact that a scattered arrangement of small frames cannot match. And when you choose occasional furniture, favour pieces with legs you can see under and slim silhouettes: light travels beneath and around them, keeping sightlines long and the floor visible, which is a quiet but powerful spaciousness cue.
This is also where budget discipline pays off. One quality sofa, one correctly sized rug and one statement artwork will outperform a room full of impulse buys, at roughly the same total spend.
Step 6: Layer Texture, the Fastest Route to Luxury
If colour makes a room feel bigger, texture is what makes it feel expensive. A neutral room without texture reads as flat and unfinished. The same room layered with tactile materials reads as considered and high-end, and texture is the cheapest luxury lever you can pull.
Work in natural materials first: linen and cotton for sofas and cushions, timber and rattan for occasional pieces, wool or jute underfoot, stone or ceramic for decor. These materials suit coastal living practically as well as visually, standing up to salt air and humidity far better than delicate synthetic finishes.
Then layer deliberately. Mix a nubbly boucle cushion against smooth linen, drape a chunky knit throw over a leather arm, set a ceramic vase on a timber tray. Vary the sheen as well as the feel, matte against soft against polished. Cushions look fullest in odd numbers and mixed sizes, and a throw folded loosely over one corner of the sofa always looks more relaxed and more expensive than one draped with precision.
Step 7: Finish Like a Stylist
The final pass is where a nicely furnished room becomes a styled one, and it follows a few reliable rules.
Style in odd numbers and vary your heights. A cluster of three objects, one tall, one medium, one low, will always look more natural than pairs lined up in rows. On the coffee table, that might be a stack of two or three beautiful books, a sculptural bowl and a small vase of foliage.
Bring in something living. Greenery is the single most reliable finishing touch there is: one generous plant or a vase of fresh stems adds colour, softness and life that no ornament can replicate.
Leave deliberate empty space. Styled shelves need breathing room between object groupings, and at least a third of every surface should stay clear. Then finish with one personal piece with a story, because the difference between a showroom and a genuinely luxurious home is evidence that interesting people live there. You can see how these finishing layers come together across our recent projects.
The Mistakes That Shrink a Living Room
Just as important as what to do is what quietly works against you. These are the mistakes we correct most often:
- The too-small rug. The single most common error. If no furniture is touching the rug, it is shrinking your room.
- Furniture lining the walls. A perimeter layout reads as a doctor’s waiting room and wastes the centre of the space.
- Downlights as the only light source. Flat overhead light erases depth. Lamps create the atmosphere luxury depends on.
- Too many small objects. Visual clutter shrinks a room faster than furniture ever will. Edit down, scale up.
- The matching furniture suite. A sofa, loveseat and recliner in the same fabric reads as a showroom floor. Mixed, complementary pieces read as curated.
- Heavy, dark window coverings. Anything that blocks glass steals light and square metres you already paid for.
Frequently Asked Questions
How do you make a small living room look bigger without renovating?
Layout and light deliver the biggest gains: float furniture off the walls into a rug-anchored zone, hang curtains high and wide, add one large mirror opposite your best light source, and keep the palette light and tonal. None of that requires a builder, and together those changes can make the same four walls feel dramatically larger.
What colours make a living room look bigger and brighter?
Light, cool-leaning neutrals reflect the most light and visually push walls outward: warm whites, soft greys, pale oat and stone tones. Keep walls and ceiling in the same tonal family to blur the boundaries of the room, then add depth through texture and one or two muted accent colours rather than strong contrast.
How do you make a living room look expensive on a budget?
Declutter hard, correct the rug size, layer three or more lamp-height light sources and add tactile texture in cushions and throws. Most of the “expensive” signals in a room come from space, light and layering rather than the price of the furniture, which is why a well-styled modest room routinely outshines a costly cluttered one.
Where should you start when styling a living room?
Start by editing: remove everything the room does not need before you buy anything new. Then set the layout around a focal point, sort the lighting, and only then move on to colour, furniture and decor decisions. Following that order prevents the expensive mistake of buying pieces that fight the room.
How much does professional living room styling cost on the Gold Coast?
Our Style to Stay packages start from $550, and the quote is tailored to the number of spaces involved. Every package includes an in-person consultation, two moodboard directions per room and a complete shoppable list, so you know exactly what to buy before spending a dollar. If you are styling to sell rather than stay, our Style to Sell staging service covers sale campaigns from single rooms to whole homes.
Putting These Living Room Styling Ideas Into Practice
A bigger-feeling, more luxurious living room is rarely about the room at all. It is about editing well, arranging furniture with intent, working the light, calming the palette, scaling up, and layering texture until the space feels as good as it looks. Work through the steps in order and you will feel the difference at every stage.
And if you would rather have a professional eye walk your space with you, that is exactly what we do. Book a consultation and we will show you what your living room could become, moodboards and shopping list included, no renovation required.